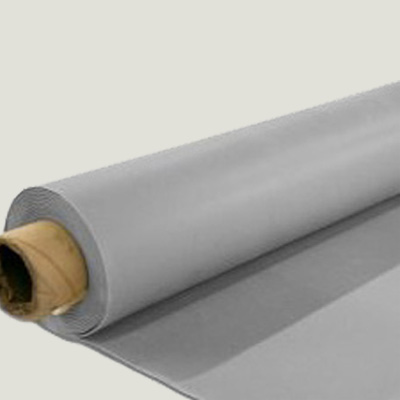
Flexible non-reinforced noise barrier is a 1lb per square foot mass loaded vinyl. With an STC of up to 32, it is used to reduce sound transmission through ceilings and walls. Most commonly used in residential/multi-family and some commercial applications. Many people think installing noise barrier is complicated. However, with the proper tools and know-how, installation can be completed with ease. The following guide will help people install noise barrier on their own.
Materials Needed to Install Noise Barrier
- T-Square or Straight Edge Pneumatic Cap Stapler, Hammer, or Screw Driver
- Roofing Nails, Cap Staples, or Screws with Caps
- Vinyl or Foil Seam Tape
- Acoustical Sealant
- Tape Measure
- Utility Knife
Non-reinforced Noise Barrier Specifications
- Mass Loaded Vinyl
- Size: Rolls 54” x 30’ or 54” x 60’
- Color: Black
- Weight: 1lb or 2lb/sq. ft.
- Thickness: 1/8”
- STC 26 or 32
- Burn Test: Meets UL 94
- Tensile Strength: At least 220lb/in2
Applying Noise Barrier
Noise Barrier can be installed over existing wall or ceiling surfaces or directly to wood/metal framing. Options for framing include:
– Loosely taught on framing
– Attached to framing
– Between layers of drywall, plywood, plaster, etc.
If installing on bare stud walls or ceiling joists, install parallel to framing (vertically on wall studs). Because of the stud or joist behind the seams, you can put pressure on them. If you are putting barrier on existing walls, find the studs/joists and mark them. The final result should be a flat application of the material.
Supporting the Fasteners
Using the right fasteners helps reduce the chances of the barrier tearing under its own weight. A wide head fastener, such as a cap stapler, screws with plastic washers, or roofing nails assists greatly with weight distribution. Start with several fasteners at the start of the roll before allowing to hang. Do not rely on drywall alone to support the barrier. All fasteners must be affixed directly into the frame, flush with the structure.
Installation Preparation
Step 1
Measure the distance between the floor and ceiling. Subtract 1/8″ – 1/4″ from the measured length.
Step 2
Place the barrier on a flat surface and cut to desired length.
Step 3
Cut a square edge with a T-square and a utility knife.
Installing the Noise Barrier
Step 4
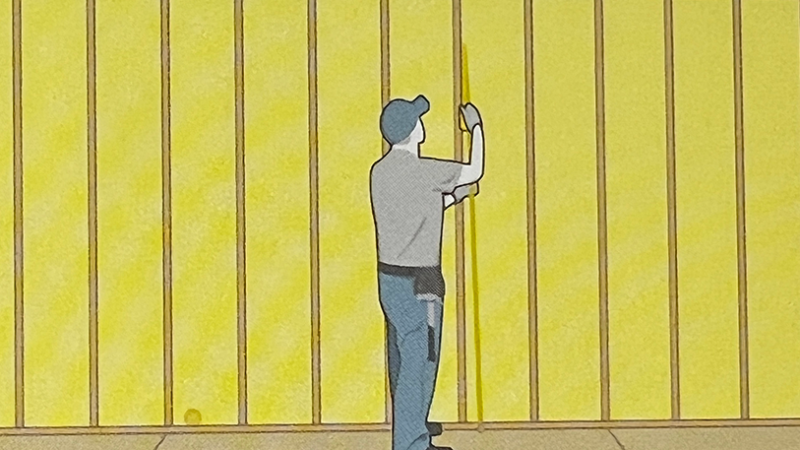
With two people holding up the material, place it in the top corners of the wall. Ensure the material is straight to the top to drape the wall evenly. Maintain the same gap along the floor and ceiling.
TIP: For quick installation, use a pneumatic cap stapler and fasten every 8” along the top plate and length of studs.
Step 5
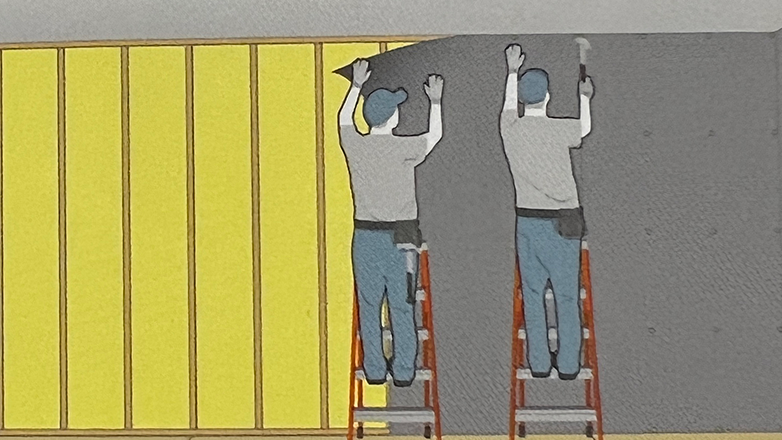
For 16” on center (o.c.) framing, hammer the nail and washer through barrier every 24” o.c. along the top plate length of each stud. For 24” o.c. framing, hammer another nail into the top and bottom plate between each stud.
Step 6

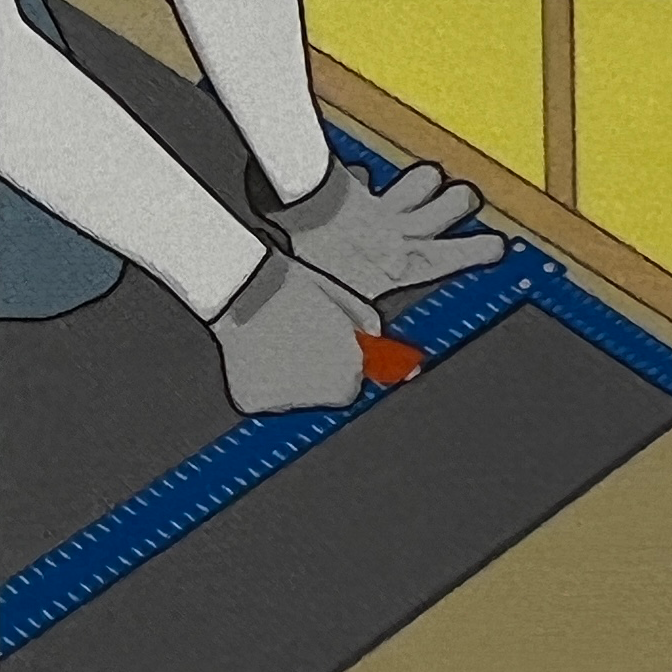
Do not cover electrical boxes. Expose the boxes as you install each length of barrier. Find boxes by gently pressing barrier against the box. Using a razor blade knife cut an opening along the edge of the box. Keep this hole as tight as possible.
TIP: For superior sound isolation use pieces of barrier over electrical boxes.
Step 7
Continue with steps 1-6 until your entire wall or ceiling is covered.
Step 8
Install drywall over barrier, vertically or horizontally. Caulk all seams around the perimeter with acoustical sealant for optimal results. Mud drywall seams and finish wall as needed.
Conclusion
There you have it, a complete guide to install flexible noise barrier in walls and ceilings. We understand that every application can be a little different. If you have any questions, reach out to us, and we’d be happy to walk you through the process.
Check out our additional noise barrier products
Reinforced Mass Loaded Vinyl Noise Barrier
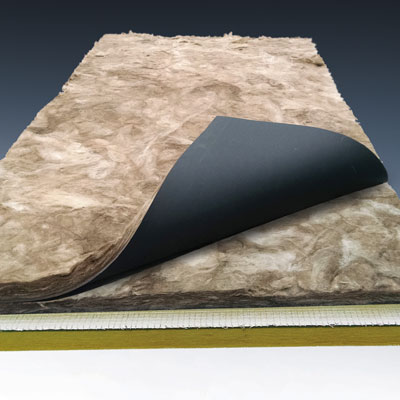
A flexible noise barrier that offers maximum tear strength and durability. Can be grommeted and stitched to be made into panels of custom sizes. Reinforced barrier is often used in conjunction with quilted fiberglass absorbers to form composite panels and curtain enclosures. Available in 1lb or 2lbs per sq. ft. and suitable for outdoor use.
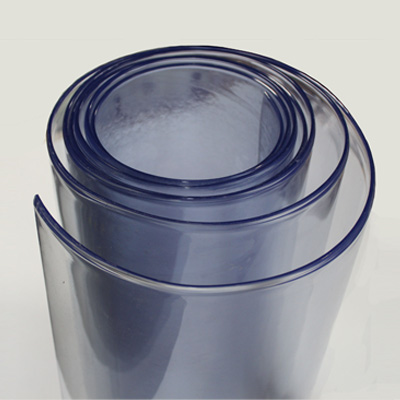
Clear Vinyl Noise Barrier
Industrial clear vinyl noise barriers are transparent while offering significant noise reduction. Typically used as windows or entrances to acoustic curtain enclosures.
Noise Barrier Ceiling
Tile Covers
Noise Barrier Ceiling Tiles covers block sound transmission through ceiling tile systems. Featuring flexible noise barrier sandwiched between two layers of fiberglass, ceiling tile covers are easily installed over existing ceiling tiles.